The Aprilaire 800 Steam Humidifier is a high-capacity, whole-house solution designed to deliver precise humidity control. It offers both manual and automatic operation modes, ensuring optimal comfort. With its advanced digital control and robust design, it is ideal for residential applications, providing up to 34.6 gallons of humidity per day. Proper installation by qualified professionals is essential for safe and efficient operation, as outlined in the installation manual.
1.1 Overview of the Aprilaire 800 Model
The Aprilaire 800 is a high-efficiency steam humidifier designed for whole-house use. It features a touchscreen display with a user-friendly interface for easy operation and programming. The system is capable of delivering up to 34.6 gallons of moisture per day, making it suitable for larger homes. Its advanced steam canister technology ensures consistent humidity levels, while the manual and automatic operation modes provide flexibility for different user needs.
1.2 Importance of Proper Installation
Proper installation of the Aprilaire 800 is crucial for safe and efficient operation. Incorrect wiring or plumbing can lead to system malfunctions or safety hazards. The installation manual emphasizes the need for qualified HVAC and electrical professionals to ensure compliance with local regulations. Correct setup also ensures optimal performance, prevents water damage, and extends the lifespan of the humidifier, making it vital to follow guidelines precisely.
System Components and Tools Needed
The Aprilaire 800 includes a humidistat, transformer, circuit board, and wiring. Additional tools like a drill, screwdriver, and tubing cutter are required for installation.
2.1 Included Parts in the Box
The Aprilaire 800 installation package includes the steam humidifier unit, digital humidistat, transformer, circuit board, 24V wiring, and installation instructions. Additional components like the saddle valve, water supply tubing, and drain kit are also provided. Ensure all parts are accounted for before proceeding with installation to avoid delays.
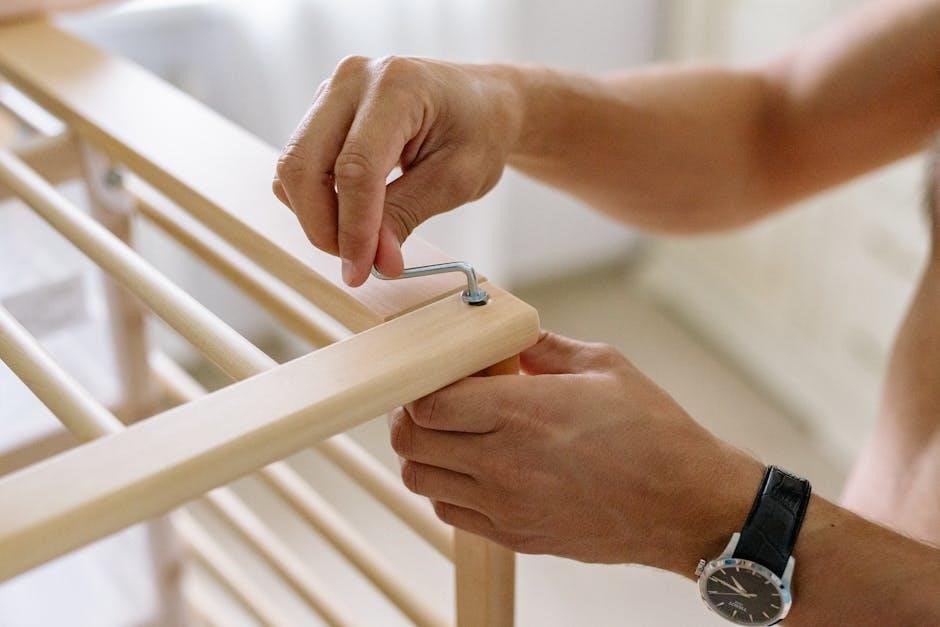
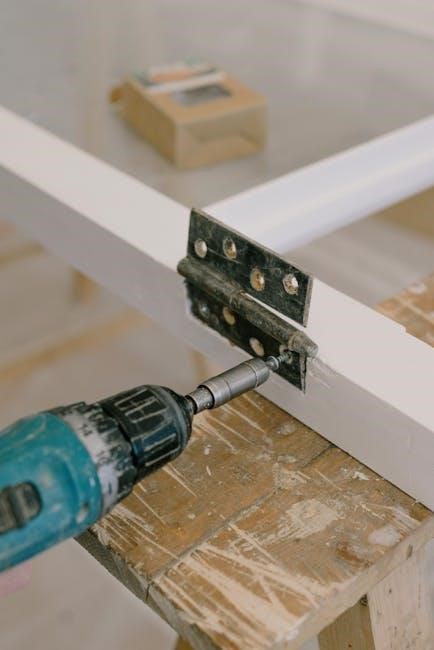
2.2 Tools and Materials Required for Installation
Essential tools include a drill, drill bits, tubing cutter, pliers, screwdrivers, and wire strippers. Materials needed are 24V wiring, PVC pipe, fittings, and water supply lines. Additional items like Teflon tape, solder, and wiring connectors may be required. Ensure all tools and materials are readily available to streamline the installation process and comply with the manual’s specifications.
Pre-Installation Steps
Ensure the site is prepared, and all components are unpacked and inventoried. Verify safety precautions, such as turning off power and water supplies, before proceeding.
3.1 Site Preparation and Location Selection
Choose a location with sufficient space for the Aprilaire 800, ensuring accessibility for maintenance. The area should be level, dry, and near a water supply. Ensure proximity to the HVAC system and electrical sources. Avoid areas prone to moisture accumulation or extreme temperatures. Proper drainage is essential for the condensate system. Verify clear access for future servicing and adjustments.
3.2 Unpacking and Inventory Check
Carefully unpack the Aprilaire 800 Steam Humidifier and verify all components against the included checklist. Ensure the humidifier unit, digital humidistat, saddle valve, mounting hardware, and installation manual are present. Inspect for visible damage or missing parts. If any items are damaged or missing, contact Aprilaire customer support immediately. Properly organize the parts to streamline the installation process.
3.3 Safety Precautions and Guidelines
Always follow safety guidelines when installing the Aprilaire 800 Steam Humidifier. Ensure the power is off during electrical connections to avoid shock. Use appropriate tools and wear protective gear. Keep the area clear of flammable materials and ensure proper ventilation. Only qualified HVAC and electrical professionals should perform the installation, adhering to local codes and manufacturer instructions. Read the manual thoroughly before starting.
Electrical Setup and Wiring
The Aprilaire 800 requires a 24V AC power supply. Wire the humidistat and transformer using 18 AWG thermostat wire. Ensure all connections are secure and meet local electrical codes for safety and proper function. Refer to the manual for detailed wiring diagrams and procedures to avoid electrical hazards.
4.1 Understanding the Electrical Requirements
The Aprilaire 800 operates on a 24V AC power supply, requiring a dedicated circuit. It draws up to 1.5 amps, with a 40VA transformer included; Ensure the wiring meets local codes, using 18 AWG or equivalent. Proper grounding is essential for safety and functionality. Always consult the installation manual or a licensed electrician to avoid hazards and ensure compliance with electrical standards.
4.2 Wiring the Humidistat and Transformer
Connect the humidistat to the transformer using 24V thermostat wire. Remove the 40VA transformer from the humidifier and install it near the HVAC system. Ensure proper wiring connections between the humidistat, transformer, and humidifier. Refer to the installation manual for detailed diagrams and step-by-step instructions. Always follow safety guidelines and local electrical codes to avoid hazards.
4.3 Connecting the Aprilaire 800 to the HVAC System
Connect the Aprilaire 800 to your HVAC system by installing a bypass duct between the supply and return plenums. Ensure the bypass is sized correctly for optimal airflow. Wire the humidistat to control the HVAC fan, enabling it to circulate humidified air. Secure all duct connections with approved materials and test the system to verify proper integration and operation with your heating and cooling setup.
Plumbing and Water Connections
Install the saddle valve on the water supply line and connect the water supply lines to the humidifier. Ensure proper drainage setup to prevent water damage.
5.1 Installing the Saddle Valve
Mount the saddle valve securely on the water supply line. Tighten the valve to ensure a leak-free connection. Turn off the water supply before installation. Follow the manual’s instructions for proper positioning and alignment to maintain system integrity and prevent future issues.
5.2 Connecting Water Supply Lines
Connect the water supply lines to the saddle valve and humidifier, ensuring tight, leak-free connections. Use copper or PEX tubing as specified in the manual. Secure all fittings firmly to prevent water leakage. Turn on the water supply gradually and inspect for leaks. Properly align and route the lines to maintain system efficiency and avoid damage during operation.
5.3 Setting Up the Drain System
Connect the drain line to the humidifier and route it to a nearby drain or floor drain. Ensure the line is properly sloped to prevent water pooling. Use PVC or ABS pipe for durability. Install a trap or vent to prevent sewer gases. Secure all connections tightly. Test the system by running water through it to confirm proper drainage and check for leaks.
Ductwork Installation
Proper ductwork installation ensures efficient humidity distribution. Mount the humidifier unit securely and connect it to the duct system, ensuring airtight seals. Use appropriate materials like sheet metal or flex duct, and verify compatibility with your HVAC system. This step is crucial for even moisture distribution and system performance.
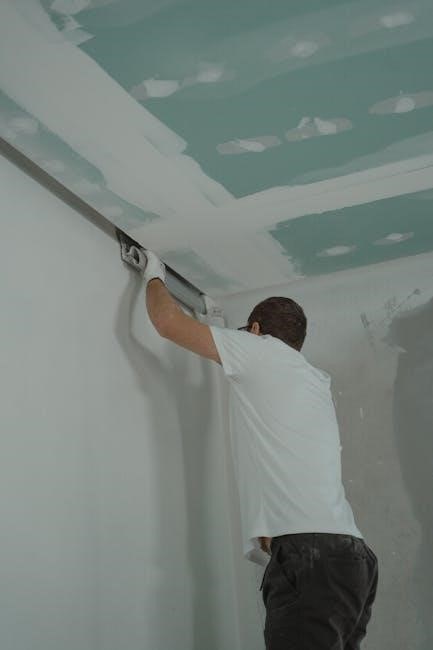
6.1 Mounting the Humidifier Unit
Mount the Aprilaire 800 Steam Humidifier in a location near your HVAC system for easy integration. Ensure the unit is placed on a level, stable surface to maintain proper operation. Secure it using the provided hardware or appropriate fasteners. The humidifier should be installed in an area with adequate clearance for maintenance and service. Proper mounting ensures reliable performance and prevents potential damage to the unit or surrounding structures.
6.2 Connecting to the Duct System
Connect the Aprilaire 800 Steam Humidifier to your duct system near the HVAC unit for optimal performance. Use the included bypass duct or appropriate connectors to ensure a secure and airtight seal. Properly align the humidifier’s outlet with the duct system to maintain even airflow. Verify all connections are tight to prevent leaks and ensure efficient humidity distribution throughout your home. This ensures reliable operation and maintains system efficiency.
6.3 Ensuring Proper Airflow
Ensure proper airflow by installing the humidifier in a location with unobstructed access to the duct system. Verify that all connections are secure and free from blockages. Properly align the bypass duct to maintain consistent airflow. Regularly inspect the duct system for leaks or damage to prevent reduced efficiency. Ensuring optimal airflow is crucial for the humidifier to function effectively and evenly distribute humidity throughout your home. Proper installation techniques and regular maintenance are essential for sustained performance.
Final Connections and Testing
Complete all electrical and water connections, ensuring they are secure and leak-free. Test the humidifier’s operation to confirm proper functionality. Verify humidity levels and system performance. Ensure all components are working seamlessly before finalizing the installation. Proper testing ensures the system operates efficiently and safely, providing optimal humidity control for your home.
7.1 Completing Electrical and Water Connections
Connect the humidistat to the transformer using 24V thermostat wire. Ensure all electrical connections are secure and meet local codes. Attach the water supply lines to the saddle valve, ensuring no leaks. Connect the drain system properly to prevent water damage. Double-check all connections for tightness and integrity. Refer to the manual for specific wiring and plumbing details to ensure safe and efficient operation.
7.2 Testing the Humidifier Operation
Power on the humidifier and check the digital display for proper function. Ensure steam generation begins and humidity levels adjust as programmed. Verify the drain system operates correctly, removing excess water. Monitor the system for leaks or unusual noises. If issues arise, consult the manual or contact a professional. Testing confirms the unit operates safely and efficiently, providing consistent humidity control for your home.
7.4 Final System Check and Adjustments
After completing all connections, perform a final inspection to ensure proper operation. Check the digital display for accurate humidity readings and system status. Verify steam output and drain function under normal operating conditions. Adjust settings as needed to achieve desired humidity levels. Ensure all safety features are active and functioning correctly. Consult the manual for troubleshooting if any issues arise during the final check.

Programming the Humidistat
Program the digital humidistat to set desired humidity levels and synchronize with your HVAC system. Use the touchscreen interface for easy, menu-driven adjustments to ensure optimal performance.
8.1 Understanding the Digital Humidistat
The Aprilaire 800 features a digital humidistat with a touchscreen display, offering an intuitive menu-driven interface for easy programming. This advanced control allows you to set precise humidity levels, monitor system status, and adjust settings as needed. The backlight ensures visibility, and the user-friendly design simplifies operation, making it easy to maintain optimal indoor humidity levels effectively.
8.2 Setting Up the Humidity Levels
The digital humidistat allows you to set precise humidity levels, ensuring optimal indoor air quality. Use the touchscreen interface to adjust the desired humidity percentage, with options for manual or automatic operation. The system can deliver up to 34.6 gallons of humidity per day. Proper setup ensures balanced moisture levels, enhancing comfort and preventing over-humidification. Follow the installation manual for guidance on configuring settings accurately.
8.3 Synchronizing with the HVAC System
The Aprilaire 800 integrates seamlessly with your HVAC system, ensuring synchronized operation. The digital humidistat automatically controls humidity levels based on system feedback. For enhanced functionality, the ADHC can activate the HVAC blower to circulate humidified air. Refer to the installation manual for specific wiring and configuration steps to ensure proper system integration and optimal performance. Proper synchronization is key to maintaining efficient and consistent humidity control.
Maintenance and Troubleshooting
Regular maintenance ensures optimal performance. Clean the humidifier and replace parts as needed. Troubleshoot common issues like low humidity or leaks by checking water levels and connections.
9.1 Routine Maintenance Tips
Perform routine checks on the Aprilaire 800 to ensure efficiency. Clean the steam canister and drain system regularly. Replace worn-out parts like the humidifier pad annually. Check water levels and electrical connections. Descale the unit if using hard water to prevent mineral buildup. Refer to the installation manual for detailed maintenance schedules and procedures to maintain optimal performance and longevity of the system. Always follow safety guidelines during maintenance.
9.2 Common Issues and Solutions
Common issues with the Aprilaire 800 include water leaks, low humidity output, or electrical malfunctions. Inspect connections for tightness and replace worn seals to address leaks. Clean the steam canister regularly to ensure proper humidity output. For electrical issues, reset the system or check wiring connections as per the manual. Regular maintenance and troubleshooting can resolve most problems efficiently, ensuring optimal performance and extending the system’s lifespan.
9.3 Resetting the System
To reset the Aprilaire 800, switch off the power at the circuit breaker for 30 seconds. Turn the power back on and allow the system to cycle. If issues persist, check for error codes on the humidistat and refer to the manual for specific solutions. Resetting ensures proper functionality and resolves minor glitches without requiring extensive troubleshooting or maintenance.
The Aprilaire 800 Steam Humidifier offers precise humidity control and robust performance. Proper installation and maintenance are crucial for optimal function, ensuring long-term reliability and comfort in your home.
10.1 Summary of Key Installation Steps
Proper installation of the Aprilaire 800 requires a qualified professional to ensure safety and efficiency. Key steps include preparing the site, unpacking and inventorying parts, setting up electrical connections with appropriate wiring, installing plumbing components like the saddle valve, mounting the humidifier unit, connecting it to the duct system, and conducting final tests. Adhering to the manufacturer’s guidelines and performing a thorough system check are crucial for optimal performance and long-term reliability.
10.2 Final Thoughts on Proper Installation
Proper installation of the Aprilaire 800 Steam Humidifier is crucial for ensuring efficiency, safety, and reliability. Following the installation manual and adhering to local regulations guarantees optimal performance. Regular maintenance and professional setup by HVAC experts are essential to maintain humidity balance and prevent issues. A well-installed system enhances indoor air quality, protecting your home and health for years to come.