Welcome to the Trane XL824 installation manual․ This guide provides essential instructions for installing and configuring the XL824 Connected Control thermostat․ Follow the steps carefully to ensure proper setup and functionality․ The manual covers system requirements, wiring, and configuration, helping you achieve optimal performance and smart home integration․ Always adhere to safety guidelines and local codes for a secure installation process․
1․1 Overview of the Trane XL824 Connected Control
The Trane XL824 Connected Control is a smart thermostat designed for seamless integration with compatible HVAC systems․ It offers advanced features like remote sensors and smart home compatibility, enhancing comfort and efficiency․ The user-friendly interface and setup wizard simplify configuration, while its sleek design fits modern homes․ This control is built for climate-controlled spaces, ensuring reliable performance and easy connectivity to platforms like Trane Home or Nexia Smart Home for remote monitoring and control․
1․2 Importance of Following the Installation Guide
Following the Trane XL824 installation guide ensures compliance with safety standards and optimal system performance․ Proper installation prevents electrical hazards and guarantees compatibility with your HVAC system․ The guide provides step-by-step instructions to avoid common issues, ensuring efficient setup and functionality․ Adhering to the manual reduces the risk of errors during wiring and configuration, while also ensuring compliance with local codes and regulations․ This helps maintain system reliability and extends the lifespan of your Trane XL824 Connected Control thermostat․
System Requirements and Compatibility
The Trane XL824 is compatible with most HVAC systems, including heat pumps and single-stage units․ It requires an 18-gauge thermostat wire and a central location installation․
2․1 Compatible HVAC Systems for the Trane XL824
The Trane XL824 is designed to work seamlessly with various HVAC systems, including single-stage and multi-stage units, heat pumps, and traditional gas or electric furnaces․ Its compatibility extends to most modern heating and cooling systems, ensuring efficient control and integration․ Proper installation ensures optimal performance across all supported systems, making it a versatile choice for different home setups and climate control needs․
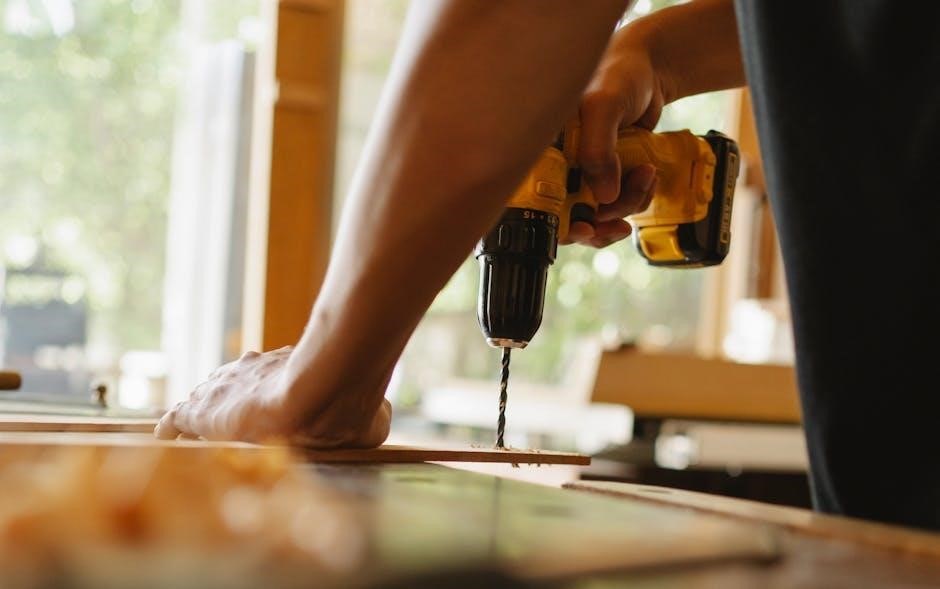
2․2 Necessary Tools and Materials for Installation
For a successful installation, gather essential tools and materials, including a screwdriver, wire strippers, and pliers․ Use 18-gauge color-coded thermostat cable for wiring, ensuring compliance with national codes․ Shielded cable is typically not required but may be used if needed․ Additionally, have wall anchors, screws, and a level handy for proper mounting․ Keep wiring at least one foot away from large appliances to avoid interference․ Refer to the manual for specific material recommendations and safety guidelines․
Pre-Installation Steps
Before installing the Trane XL824, ensure the site is prepared and all necessary tools and documentation are gathered․ Verify compatibility and safety guidelines to proceed smoothly․
3․1 Site Preparation for the Thermostat
Ensure the installation site is climate-controlled and centrally located for optimal performance․ The thermostat should be placed in an area with good air circulation, avoiding direct sunlight, humidity, and drafts․ Keep it away from other appliances that generate heat or interference․ Verify the location complies with local codes and safety guidelines․ Clean the area to prevent dust or debris from interfering with the device․ Proper site preparation ensures accurate temperature readings and reliable operation of the Trane XL824 thermostat․
3․2 Gathering Required Tools and Documentation
Before starting, gather all necessary tools and documents․ You will need an 18-gauge color-coded thermostat cable, screwdrivers, and wire strippers․ Ensure you have the Trane XL824 installation manual, which includes detailed instructions and compatibility information․ Refer to the manual for specific system requirements and safety guidelines․ Additionally, collect any manufacturer-provided documentation for your HVAC system to ensure proper integration․ Having all tools and materials ready will streamline the installation process and reduce potential delays․

Installation Procedures
Mount the Trane XL824 thermostat in a central location with good airflow․ Connect the wiring carefully, following the manual’s instructions․ Test the system to ensure proper functionality․ Avoid placing near large appliances or direct sunlight for accurate temperature readings․
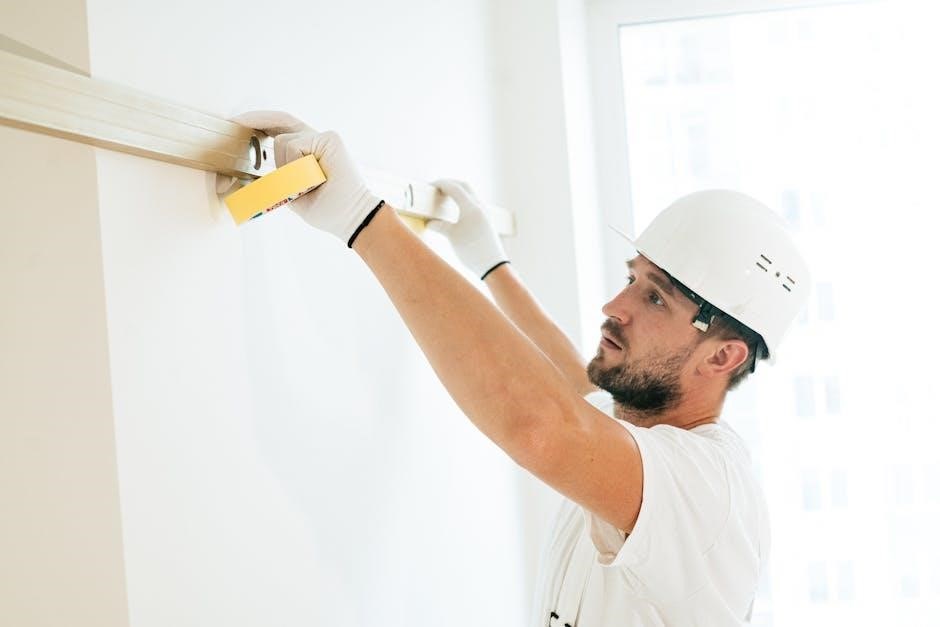
4․1 Mounting the Trane XL824 Thermostat
4․2 Wiring Requirements and Recommendations
Use 18-gauge color-coded thermostat cable for proper wiring․ Shielded cable is typically unnecessary unless interference is a concern․ Ensure wires are at least one foot away from large electrical components to prevent interference․ Follow the manual’s wiring diagram to match terminals correctly․ Double-check connections to avoid system malfunctions․ Secure wires neatly to maintain a clean installation․ Adhere to these guidelines to ensure safe and reliable operation of the Trane XL824 thermostat․
Configuration and Setup
The Trane XL824 setup involves navigating the User Setup Wizard, configuring heating and cooling presets, and connecting to smart home systems like Trane Home or Nexia․
5․1 Navigating the User Setup Wizard
The User Setup Wizard simplifies configuring the XL824 thermostat․ It guides you through setting up user preferences, scheduling, and system configurations․ Access the wizard via the menu and follow on-screen instructions to customize settings like temperature presets and operational modes․ This feature ensures a seamless setup process, optimizing the thermostat’s performance for your home’s needs․ Properly completing the wizard is crucial for integrating smart home features and ensuring connectivity with Trane Home or Nexia systems․
5․2 Connecting the XL824 to Trane Home or Nexia Smart Home
To connect the XL824 to Trane Home or Nexia, complete the User Setup Wizard and ensure your system is configured correctly․ Visit the Trane Home portal or Nexia app, follow the on-screen instructions to link your thermostat․ This integration allows remote monitoring, advanced scheduling, and smart home automation․ Ensure your network setup is complete and your router is operational for a successful connection․ Once connected, you can control your HVAC system remotely and access additional features for enhanced comfort and energy efficiency․
Advanced Features and Settings
Explore smart home integration, custom scheduling, and energy-saving modes․ Configure remote sensors for precise temperature control․ Access advanced settings for enhanced comfort and energy efficiency through the XL824․
6․1 Configuring Heating and Cooling Presets
Configuring heating and cooling presets on the Trane XL824 allows for customized temperature settings․ Use the home screen to set target temperatures for Home, Away, and Sleep modes․ These presets optimize comfort and energy efficiency․ Adjust settings based on your schedule to ensure your home stays comfortable while minimizing energy usage․ The user-friendly interface makes it easy to tailor your preferences for different scenarios, enhancing your overall HVAC experience․
6;2 Setting Up Remote Sensors and Smart Home Integration
The Trane XL824 supports a wired remote indoor sensor (ZZSENSAL0400AA) to enhance system performance․ Install the sensor in a central location for accurate temperature readings․ For smart home integration, connect the XL824 to Trane Home or Nexia systems via the User Setup Wizard․ Ensure proper wiring using 18-gauge color-coded cable, and keep it at least one foot away from large electrical components to avoid interference․ This setup allows seamless app control and integration with smart home devices for advanced automation and convenience․
Troubleshooting Common Issues
Diagnose connectivity and installation problems by checking wiring and ensuring proper sensor placement․ Reset the thermostat if issues persist, following manual guidelines for resolution․
7․1 Diagnosing Installation and Connectivity Problems
Begin by verifying all wiring connections are secure and match the system configuration․ Check the power supply and ensure sensors are properly placed and calibrated․ If connectivity issues arise, restart the thermostat and confirm network settings․ Review the installation manual for specific error codes and solutions․ If problems persist, perform a factory reset or consult professional assistance for advanced troubleshooting․
7․2 Resetting the Trane XL824 Thermostat
To reset the XL824, navigate to the settings menu and select “Factory Reset․” This will restore all default settings, erasing custom configurations and connected accounts․ Ensure the system is powered off before starting․ After resetting, restart the thermostat and follow the setup wizard to reconfigure your preferences․ Note that a reset may require re-pairing with smart home systems like Nexia․ Always refer to the manual for detailed reset procedures to avoid operational issues․

Safety Precautions and Compliance
Ensure all installation steps comply with national, state, and local electrical codes․ Always handle live electrical components safely, and follow proper grounding procedures to prevent hazards․
8․1 Adhering to National, State, and Local Codes
Compliance with national, state, and local codes is crucial for safe and proper installation of the Trane XL824․ Always follow electrical regulations and standards to ensure system performance and safety․ Verify wiring requirements, permits, and inspections as mandated by local authorities․ Use licensed professionals for complex tasks to avoid legal issues and ensure adherence to all applicable codes․ Proper compliance guarantees a secure and efficient installation, meeting both safety and legal standards․
8․2 Working with Live Electrical Components Safely
When working with live electrical components during the Trane XL824 installation, ensure all power is turned off at the circuit breaker․ Use a voltage tester to confirm there’s no electricity present․ Wear insulated gloves and safety goggles to protect against shocks or arcs․ Always use tools with insulated handles to prevent accidental contact with live wires․ Follow the Trane XL824 manual’s safety guidelines and adhere to local electrical codes․ Ensure the area is well-lit and avoid working alone to maintain a safe environment throughout the process․
After completing the Trane XL824 installation, perform a final system check to ensure all features function correctly․ Schedule professional assistance if issues arise or for routine maintenance․ Always follow safety guidelines and comply with local codes for a secure and efficient setup․ Refer to the manual for troubleshooting or advanced configurations, ensuring optimal performance and smart home integration․
9․1 Final Checks After Installation
Once installed, verify the Trane XL824 thermostat’s functionality by testing heating, cooling, and preset modes․ Ensure all wiring connections are secure and properly labeled․ Check for any firmware updates and install the latest version for optimal performance․ Review scheduled settings and smart home integrations to confirm they operate as intended․ Verify remote access through the Trane Home or Nexia app․ Finally, ensure the thermostat is mounted securely and the display is responsive․ Address any issues promptly to ensure reliable system operation․
9․2 Scheduling Professional Assistance if Needed
If issues arise during or after installation, don’t hesitate to contact a certified HVAC professional․ Attempting complex repairs without expertise may void the warranty or cause system damage․ Schedule assistance if you encounter wiring problems, connectivity issues, or malfunctioning features․ Certified technicians ensure compliance with safety codes and manufacturer guidelines․ They also have access to specialized tools and training, providing reliable solutions․ For persistent problems, reach out to Trane customer support or a Trane-certified installer for professional assistance․